How To Use Nzbget

Provider reviews, pricing comparisons, and practical setup guidance.

Current Recommendations

Live from our provider database. This block stays synced across pages as rankings change.

  • NewsDemon Score: 9.4/10 • Backbone: UsenetExpress (independent) • Pricing: From $3/mo metered; $12.95/mo monthly unlimited; $7/mo quarterly; $6/mo annual
  • Frugal Usenet Score: 9.4/10 • Backbone: Netnews-linked hybrid + bonus path • Pricing: $5.99/mo; ~$60/yr bundles shown with block add-on
  • UsenetExpress Score: 9.3/10 • Backbone: UsenetExpress (independent) • Pricing: $10/mo, $90/yr, plus block options
Technical refresh: This article has been normalized for current Usenet workflows (provider reliability, retention/completion behavior, and modern client/indexer automation patterns).

NZBGet Setup Guide

NZBGet is a fast, lightweight Usenet client with strong automation support. This walkthrough keeps the setup sequence in order so you can install, configure, and start using it without missing steps.
How to use NZBGet guide hero image

Tip: If you want a feature/benchmark breakdown, see our NZBGet Review.

What Is NZBGet

NZBGet is a newsreader built for NZB-based Usenet downloading. Because it is written in C++, it is efficient on lower-power systems (NAS, routers, Raspberry Pi) while still supporting advanced automation workflows.

It focuses on binary retrieval and queue management rather than text newsgroup browsing, which is exactly what most modern Usenet users need.

Step 1: Install NZBGet (Desktop)

Estimated time: 5 minutes

2. Choose your OS build

Select the latest stable release for Windows, macOS, or Linux.

3. Run the installer

Launch the installer and continue through the wizard.
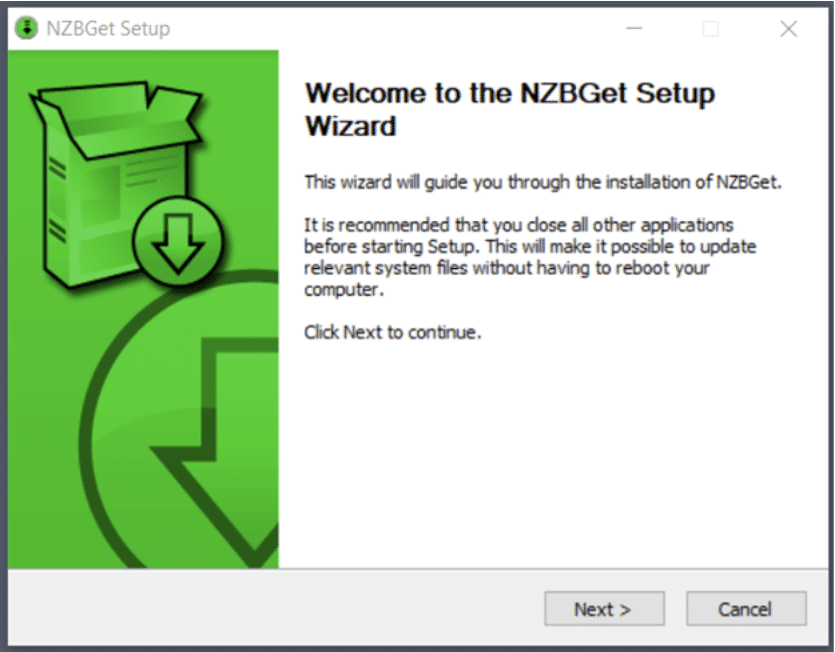
NZBGet installation wizard

4. Set install location and finish

Accept the license, pick an install location, and finish setup.
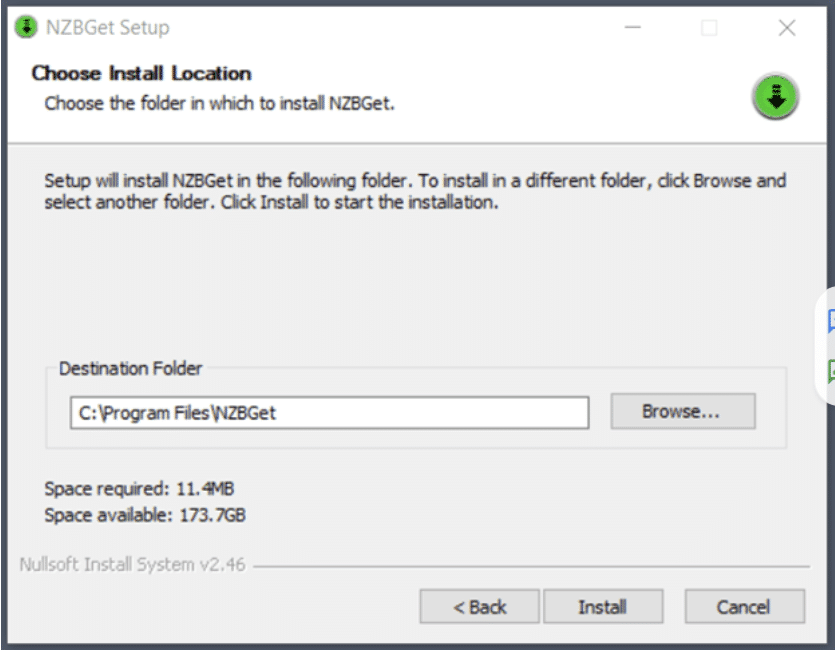
NZBGet installer location screen

Step 2: Configure NZBGet Servers

When NZBGet first opens, head to server settings and enter your provider credentials.
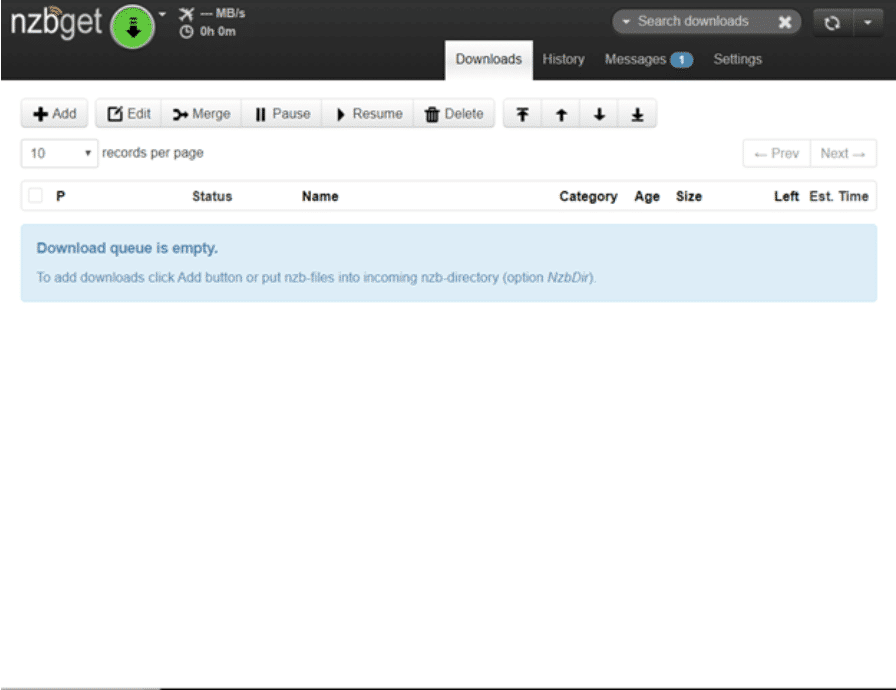
NZBGet main screen

1. Open News Servers settings

Go to Settings > News Servers.
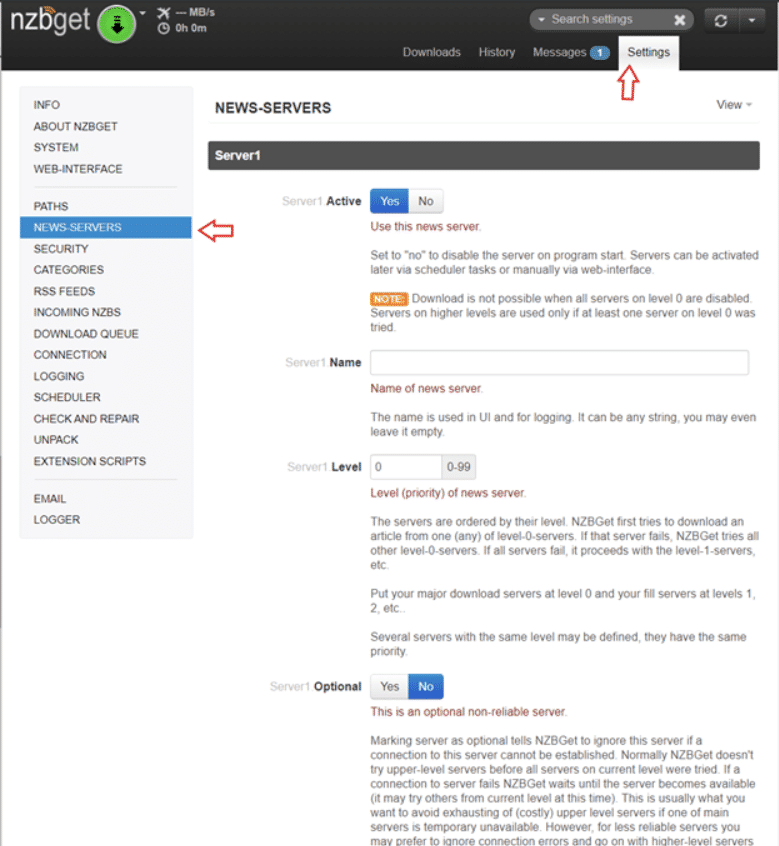
NZBGet News Servers settings

2. Enter provider credentials

Fill hostname, port, username/password, and SSL options from your provider dashboard.
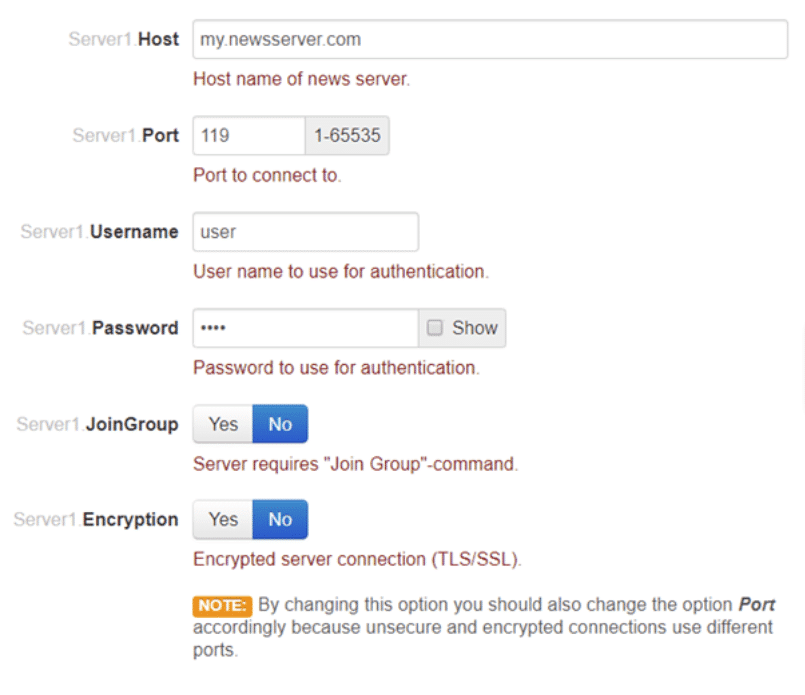
NZBGet server fields

3. Prefer SSL port 563

Use port 563 whenever available for encrypted connections.

4. Test connection

Use Test Connection and confirm it passes before continuing.
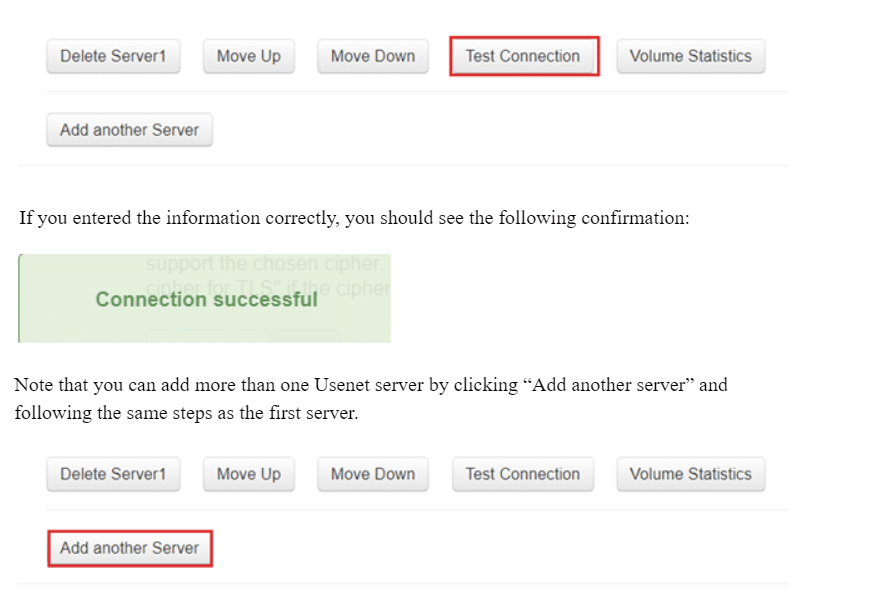
NZBGet test connection result

Step 3: Configure Remote Access

NZBGet can be managed from other devices if you configure security settings correctly.

1. Open Security settings

Go to Settings > Security.

2. Set control options

  • ControlIP: `127.0.0.1` local-only, `0.0.0.0` remote enabled.
  • ControlPort: choose an unused port.
  • ControlUsername/Password: use strong credentials.

3. Save and verify access

After saving, access NZBGet from your selected host/port and verify login works.
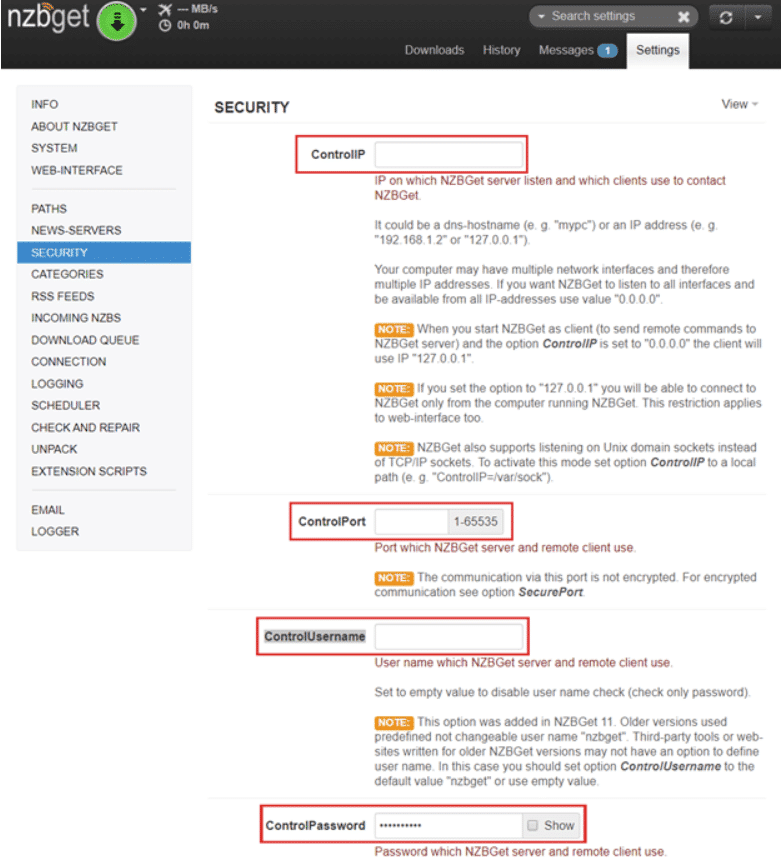
NZBGet security and remote access settings

Step 4: Run NZBGet in Docker

Estimated time: 10 minutes

1. Install Docker Desktop

Download Docker Desktop and complete installation.
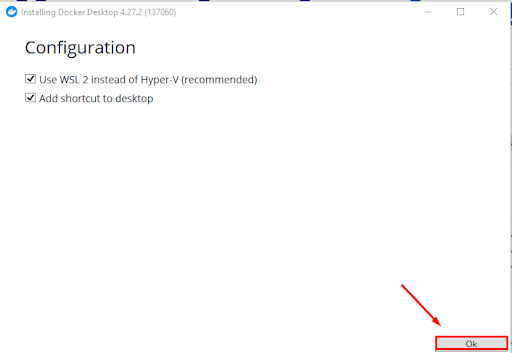
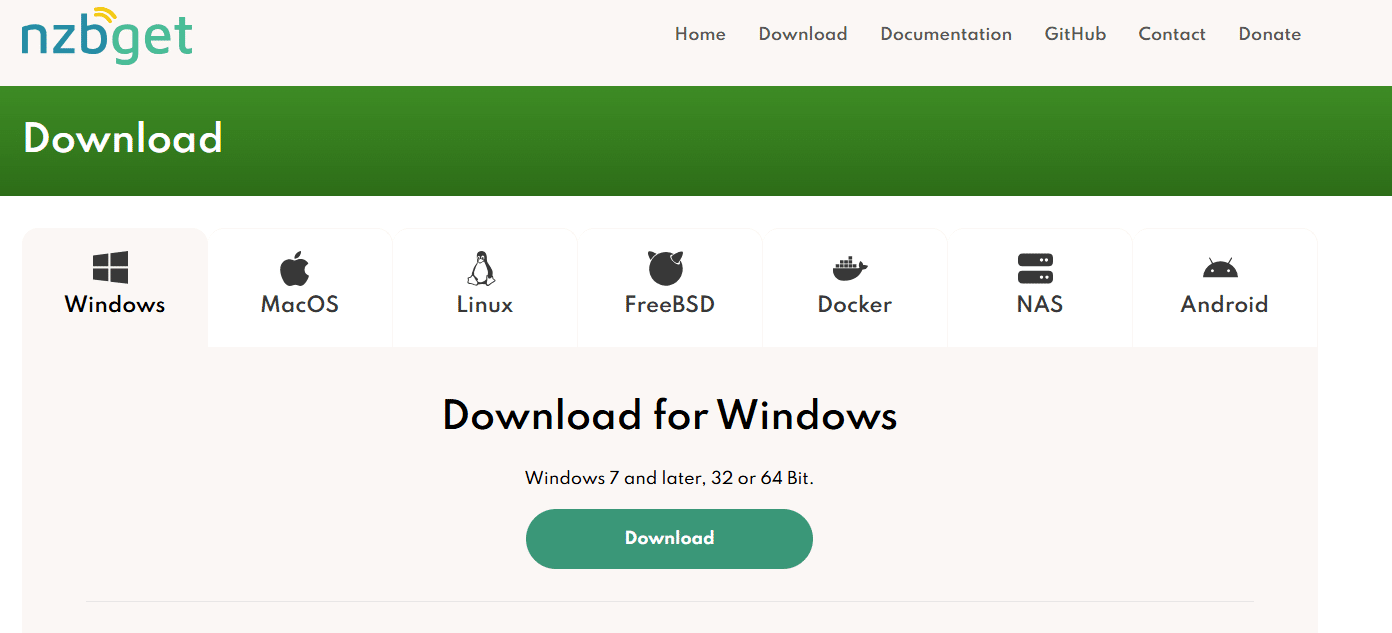
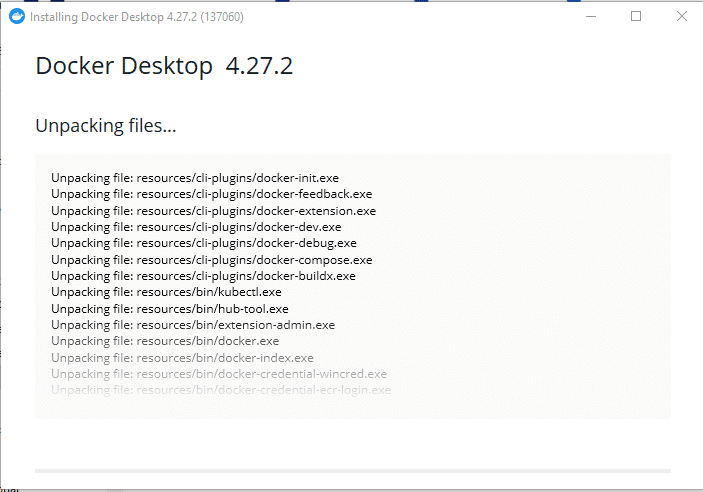
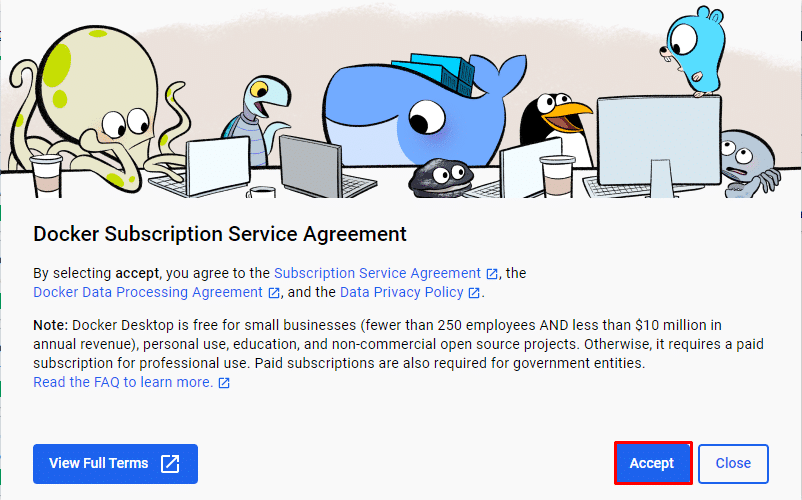
Docker desktop download/setup Docker desktop installation flow Docker subscription service agreement

2. Pull and run linuxserver/nzbget

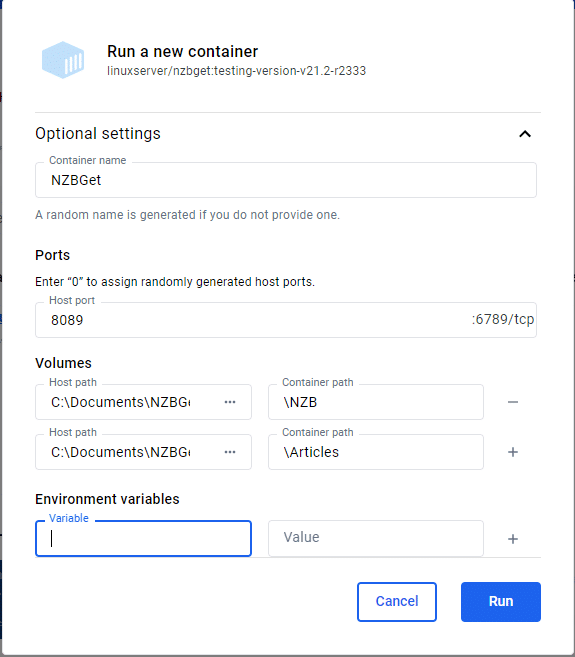
In Docker Desktop, search for linuxserver/nzbget, pull image, then run container with port and volume mappings.
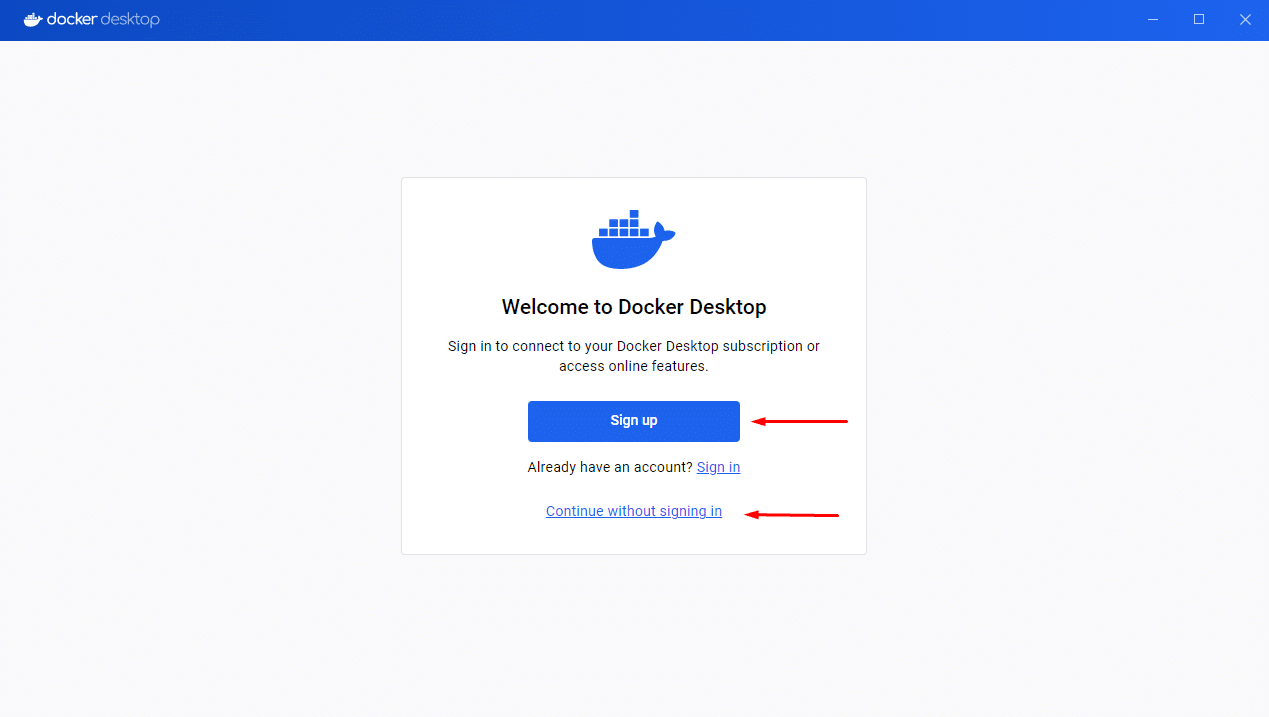
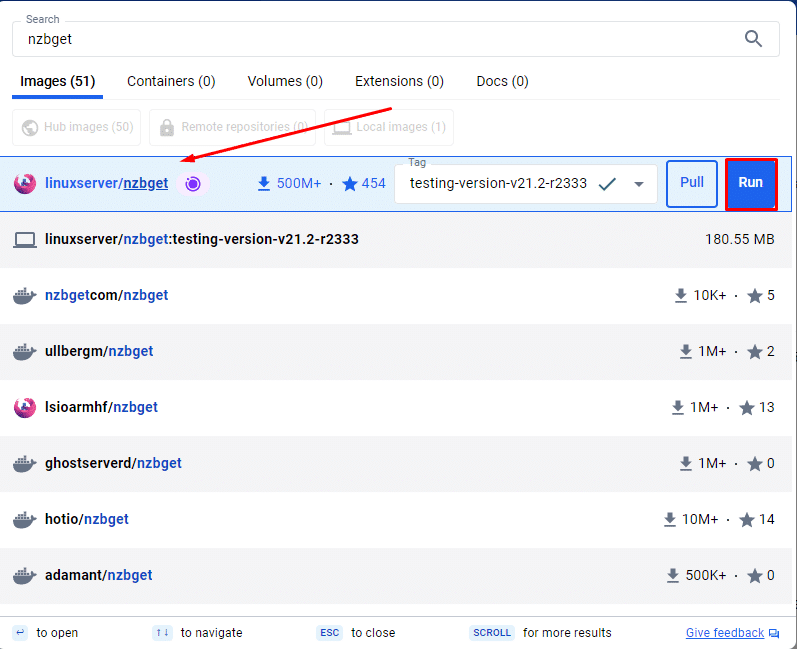
Docker desktop main screen Docker search for linuxserver nzbget Docker run container options for NZBGet

3. Open web UI and log in

Start container, open http://127.0.0.1:8089/, then log in with your configured credentials.

Step 5: How to Use NZBGet

Once installation and server setup are done, add NZBs using the method that matches your workflow.

Method A: Add from URL
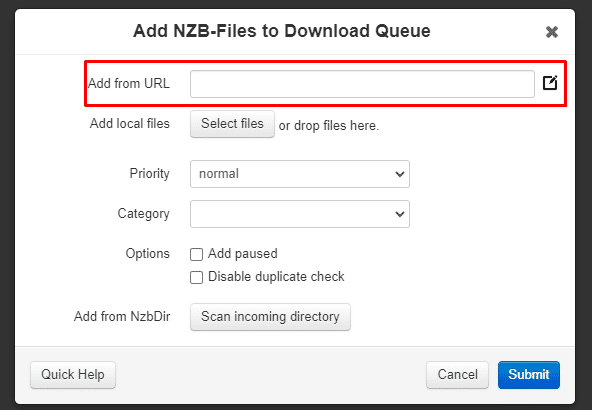
  • Copy NZB URL from your indexer.
  • In NZBGet: +Add > Add from URL.
  • Paste and submit.
Add NZB from URL in NZBGet

Method B: Add local NZB file

  • Save NZB file to your device.
  • Use +Add > Select files.
  • Choose file and submit.

Method C: Watch an NZB directory

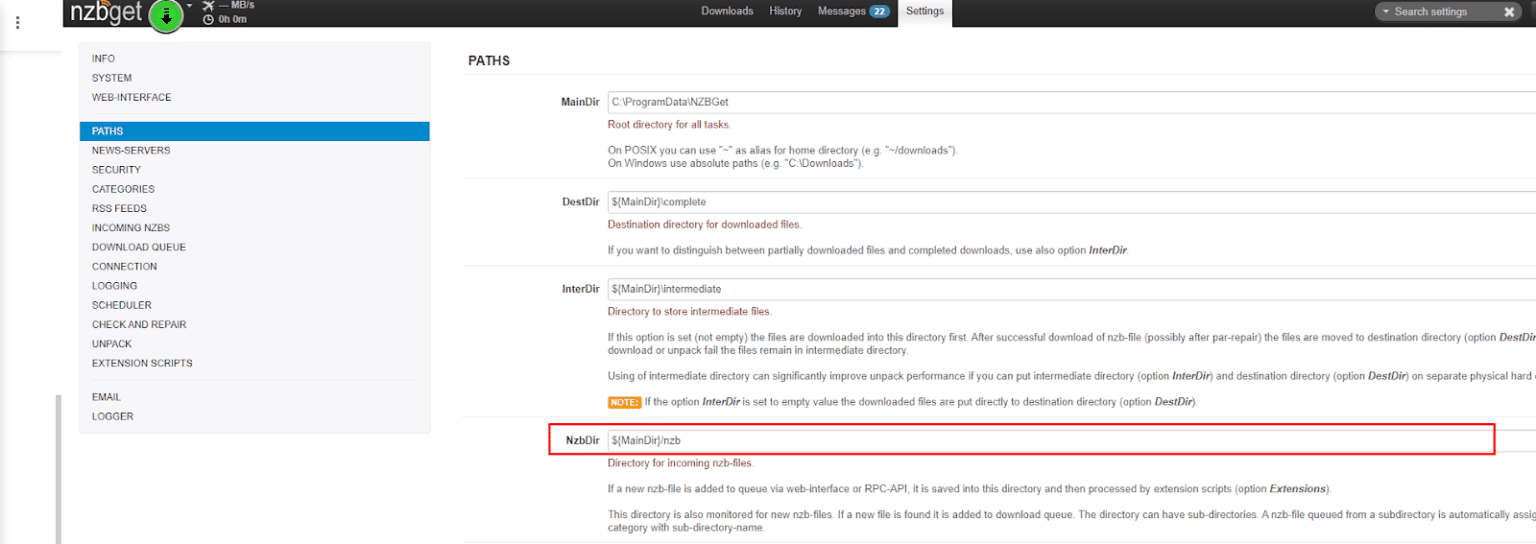
  • Set Settings > Paths > NZBDir.
  • Drop NZBs into that folder.
  • NZBGet imports automatically.
NZBGet path settings for NZB directory

Automation and Optimization

Pair NZBGet with Sonarr, Radarr, Lidarr, and Prowlarr to automate discovery and queue submission.

  • Enable SSL (563) for encrypted traffic.
  • Tune connection count based on provider limits.
  • Use a secondary server for completion gaps.
  • Set backup server priorities lower than primary.

Troubleshooting

  • Connection failures: check hostname, SSL setting, port, and credentials.
  • Password issues: default values vary by build; confirm current credentials.
  • Failed jobs: validate retention and add a backup server.
  • Slow speeds: test ports and firewall/network constraints.

Frequently Asked Questions About NZBGet

What is NZBGet used for?
NZBGet retrieves Usenet articles from NZB files and manages queueing, repair, and unpacking.
How do I use NZBGet step by step?
Install app, configure provider server settings, test connection, then add NZBs by URL, file upload, or watched directory.
What is the default NZBGet port?
Web interface commonly uses 6789; provider SSL traffic typically uses port 563.
What is the default NZBGet password?
Defaults vary by package/distribution. Check your running build documentation and change defaults immediately.
NZBGet vs SABnzbd?
NZBGet is lightweight and efficient; SABnzbd has a larger plugin ecosystem. Either can work well with ARR tools.

Final Thoughts

NZBGet remains a strong choice for users who want efficient queue handling and low resource usage. With server config, SSL, and optional ARR automation in place, it is a reliable daily downloader.

Recent Posts

How to Add a Newsgroup to Usenet (Step-by-Step Guide)

Read More

VPN With Usenet: Why Layered Security Makes Sense

Read More
Motorola Edge Plus for Usenet Android use.

Best Android Phone for Usenet (2026 Guide)

Read More