
How to Set Up Usenet on a Raspberry Pi
Provider reviews, pricing comparisons, and practical setup guidance.
Current Recommendations
Live from our provider database. This block stays synced across pages as rankings change.
- NewsDemon Score: 9.4/10 • Backbone: UsenetExpress (independent) • Pricing: From $3/mo metered; $12.95/mo monthly unlimited; $7/mo quarterly; $6/mo annual
- Frugal Usenet Score: 9.4/10 • Backbone: Netnews-linked hybrid + bonus path • Pricing: $5.99/mo; ~$60/yr bundles shown with block add-on
- UsenetExpress Score: 9.3/10 • Backbone: UsenetExpress (independent) • Pricing: $10/mo, $90/yr, plus block options
How to Set Up Usenet on a Raspberry Pi (2026 Guide)
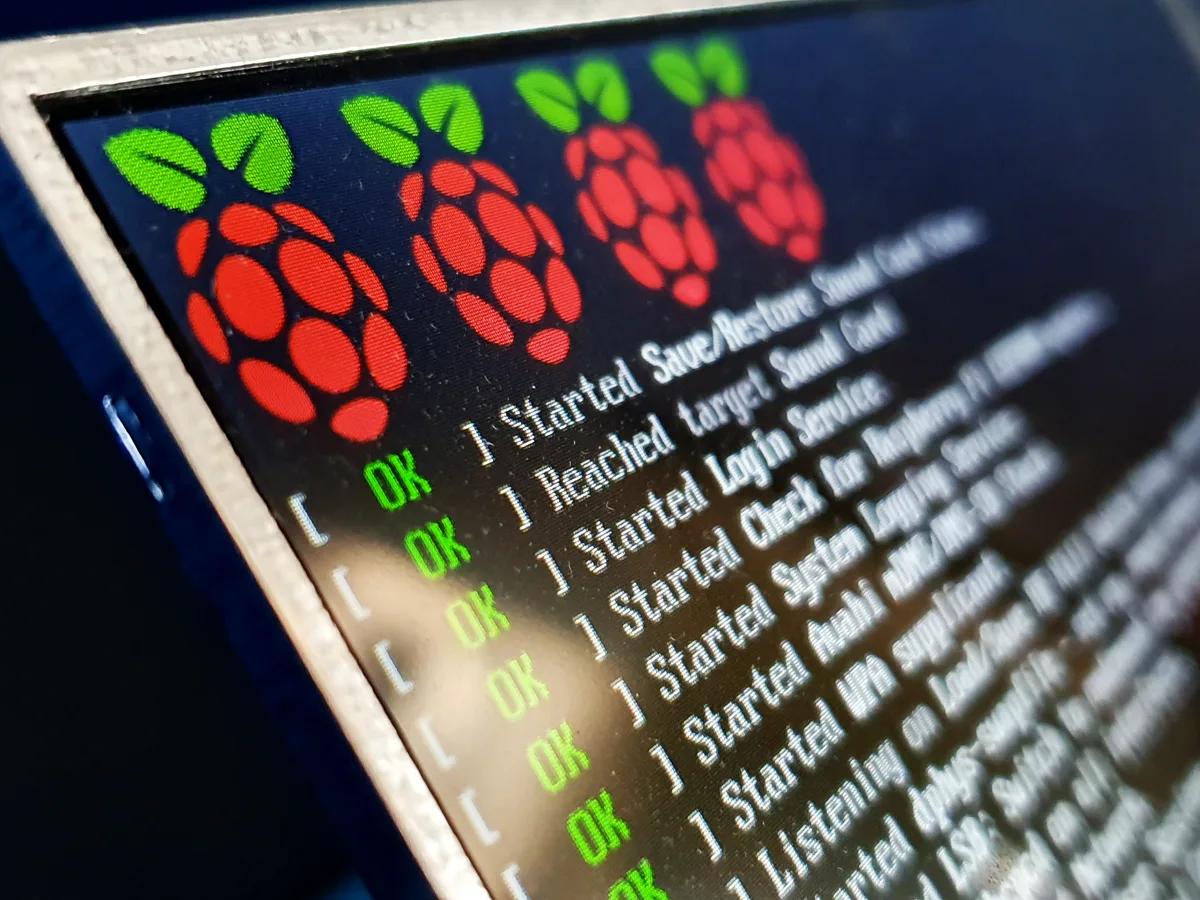
When a Raspberry Pi makes sense
Use Pi if you want low power draw, low noise, and a dedicated always-on downloader. Keep expectations realistic: repair/unpack and large post-processing jobs can saturate ARM CPUs quickly.
Best results come from SSD storage, controlled queue size, and a secondary provider path for completion gaps.
1. What You Need
Hardware: Raspberry Pi 4/5, reliable power supply, Ethernet preferred, external SSD or USB 3.0 storage.
OS: Raspberry Pi OS Lite (64-bit recommended).
Downloader: SABnzbd or NZBGet.
Providers: start with a primary like NewsDemon or Eweka; add a secondary/backfill path such as UsenetExpress.
Discovery: 1-2 indexers from our Best NZB Indexers list.
2. Base System Prep
Update packages and install baseline tools:
Mount active download directories on SSD storage, not microSD, to avoid I/O bottlenecks and card wear.
3. Install SABnzbd (Recommended Pi Path)
Install SABnzbd:
Run on all interfaces so you can access from another device on your LAN:
Open setup wizard in browser:
Continue with our full SABnzbd Setup Guide.
4. Add Providers and Keep It Reliable
Primary: add one top provider from Best Usenet Providers.
Secondary: add another provider or block account on a different backbone (see Best Usenet Block Accounts).
Priority: set primary as highest priority and secondary as backup/fill.
Security: enable SSL and use secure credentials.
5. Optional: Add NZBGet Instead
If you prefer NZBGet, use our up-to-date walkthrough:
How to Use NZBGet and NZBGet Docker Setup Guide.
NZBGet can be more resource-efficient in some Pi setups, but both clients work.
6. Connect Indexers and ARR Apps
Add indexers via Indexer/API key setup, then connect Sonarr/Radarr/Prowlarr if you want automation.
Keep queue sizes conservative on Pi hardware and schedule heavy post-processing during quieter hours.
Frequently Asked Questions
Is Raspberry Pi still viable for Usenet in 2026?
Yes for light and moderate workloads. For heavy automation and large archives, x86/Unraid is usually better.
Should I run one provider or two?
Two is usually better: one primary unlimited account plus one secondary/backfill path on a different backbone.
What is the biggest performance mistake on Pi?
Running active downloads and unpack on microSD. Use SSD storage for active directories.
Related: What Is Usenet?, Best Usenet Search, How to Configure a Newsreader.